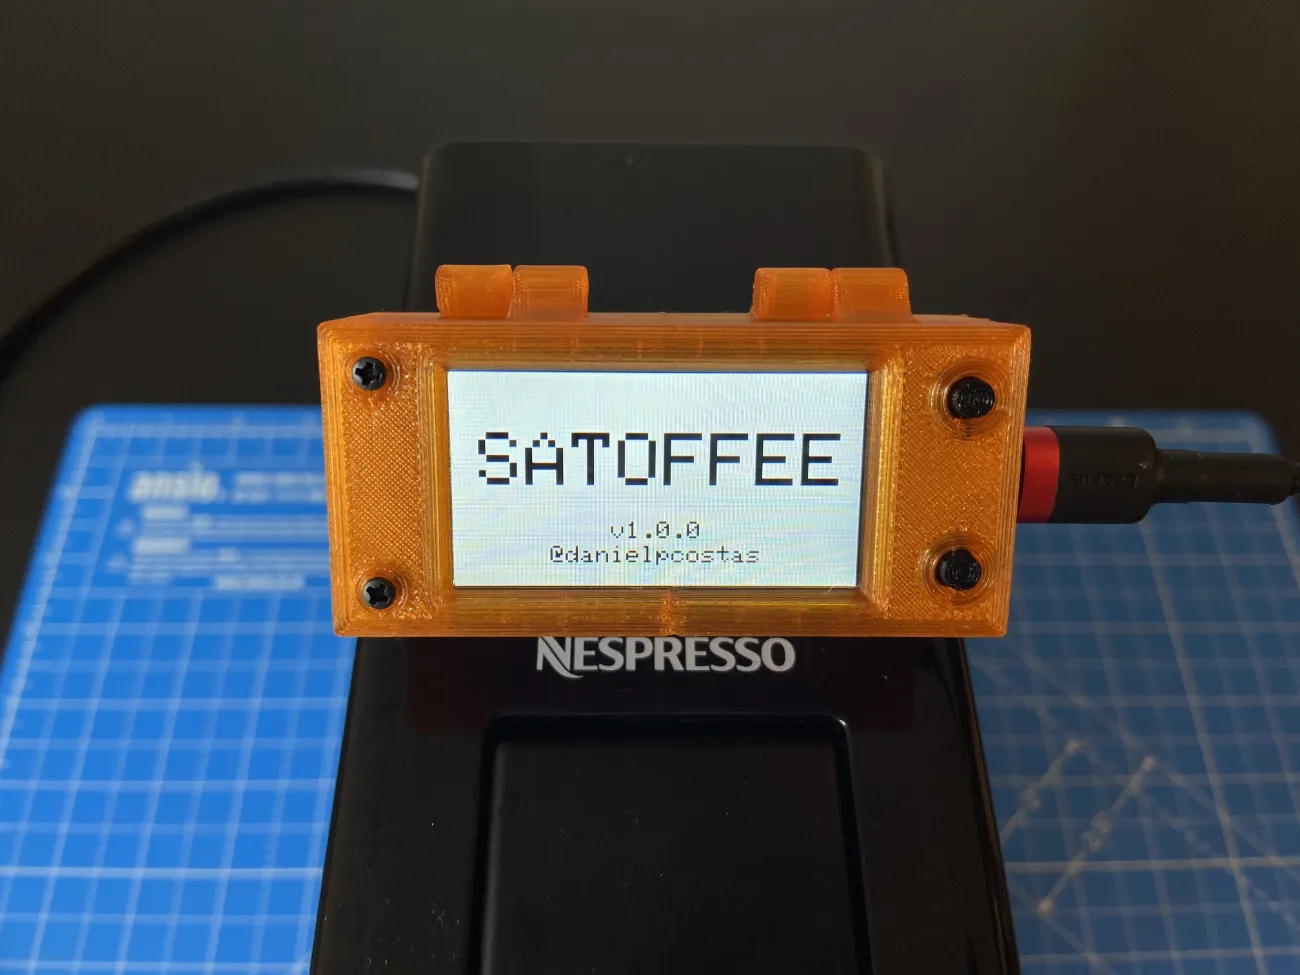
How to use the Satoffee Bitcoin Coffee Conversion Kit — Nespresso Essenza Mini
This guide will walk you through the process of converting and setting up your Nespresso Essenza Mini C30 using the Satoffee Bitcoin Coffee Conversion Kit.
Machine conversion
1. Preparing the Coffee Machine
⚠️ Warning: disconnect the coffee machine from the power source.
- Remove all accessories from the machine, including the front components and water tank.
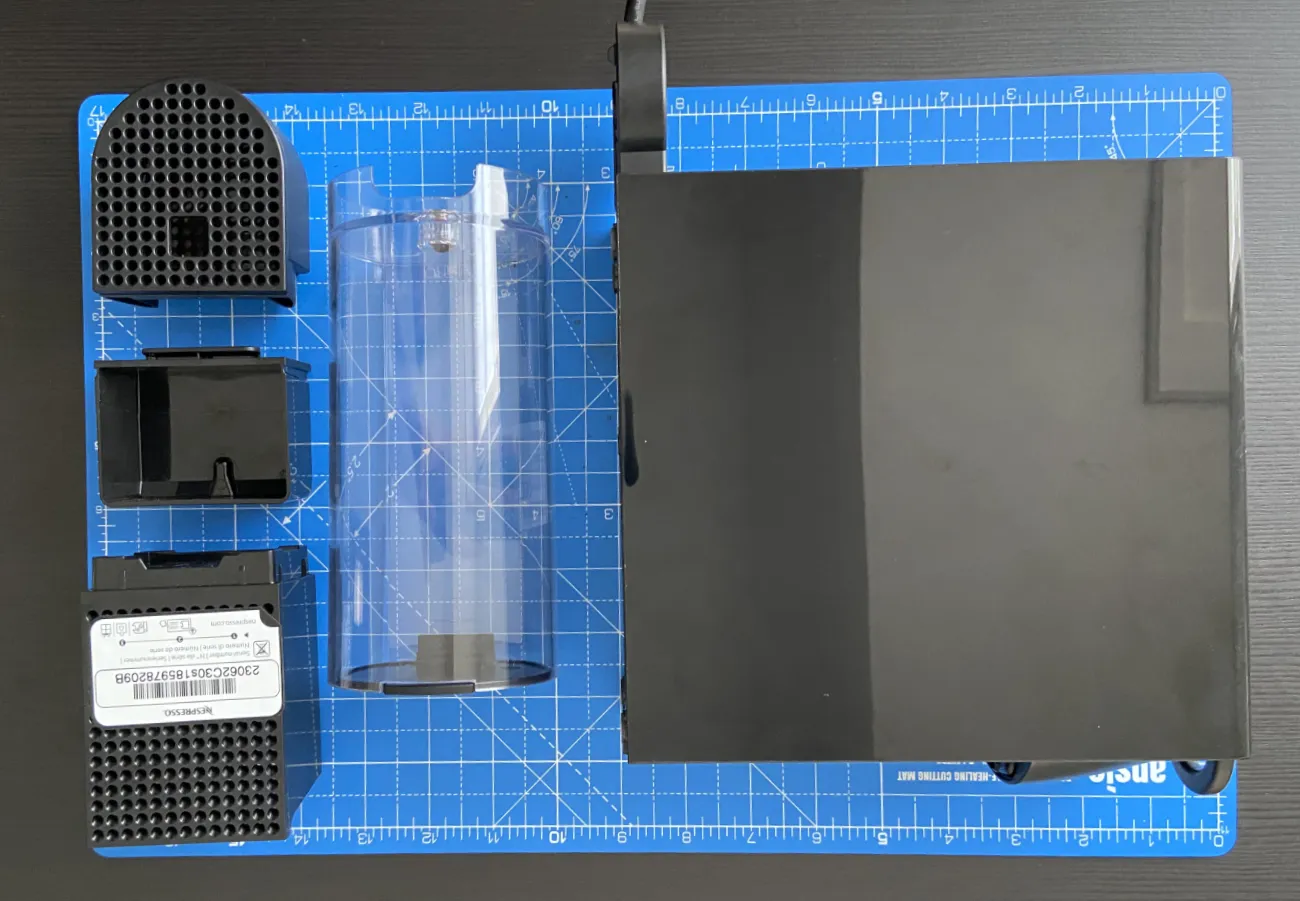
- Turn the machine upside down and unscrew the two screws at the bottom.
- Place the machine upright and slide the plastic casing upwards to remove it.
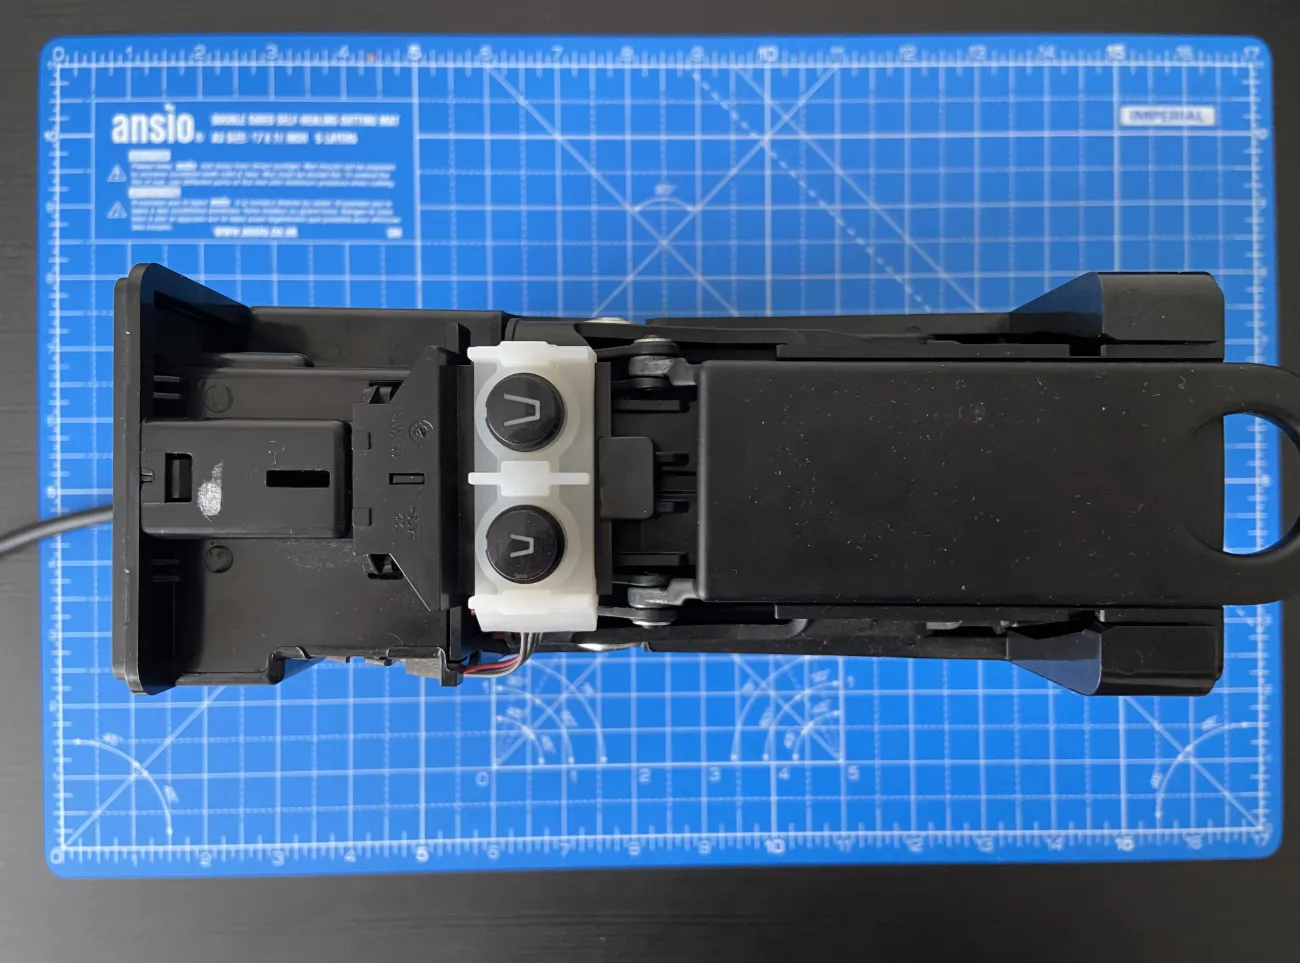
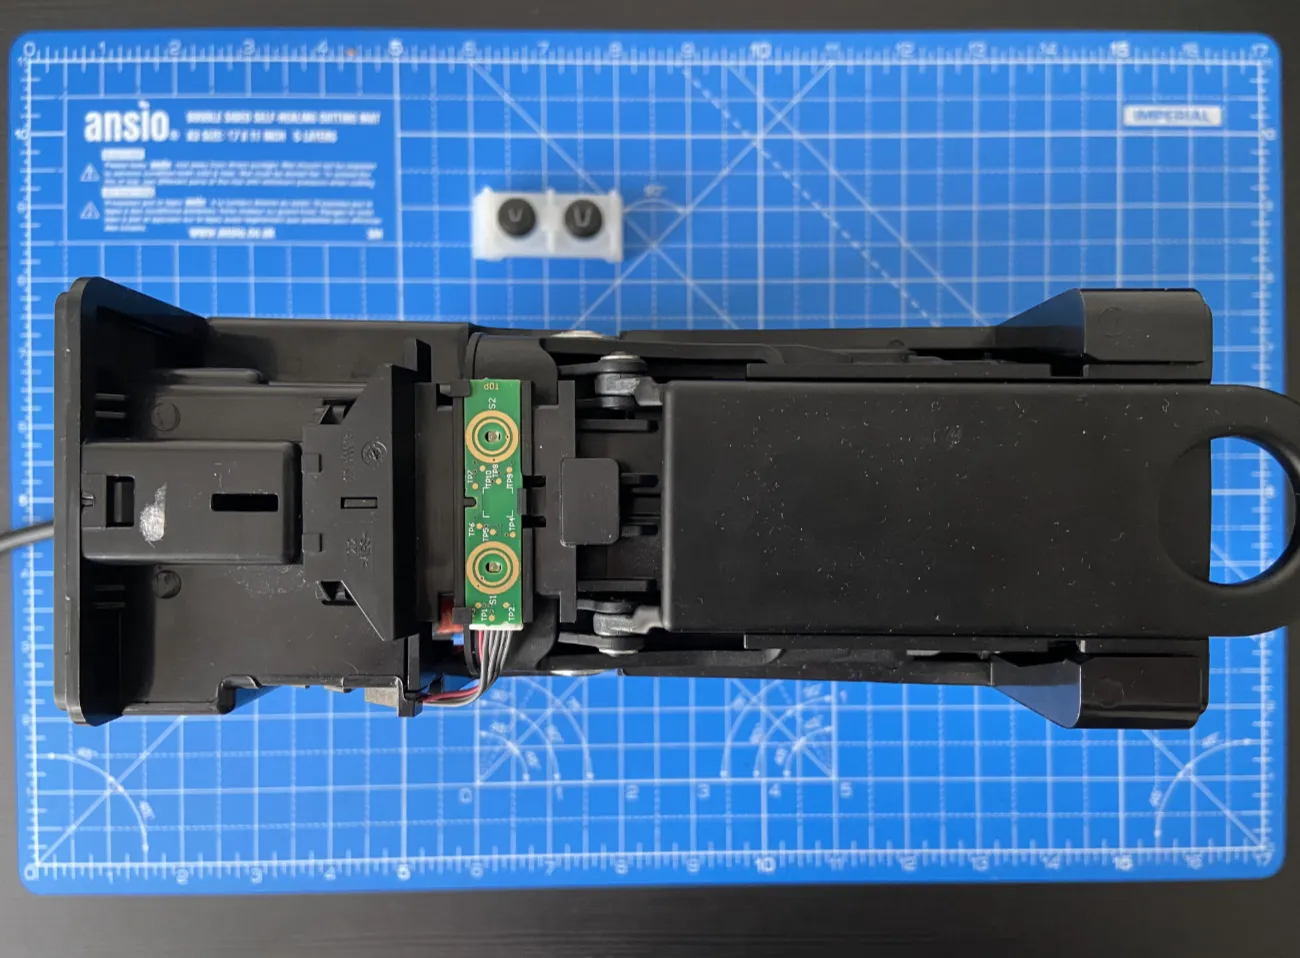
- Remove the two rubber buttons.
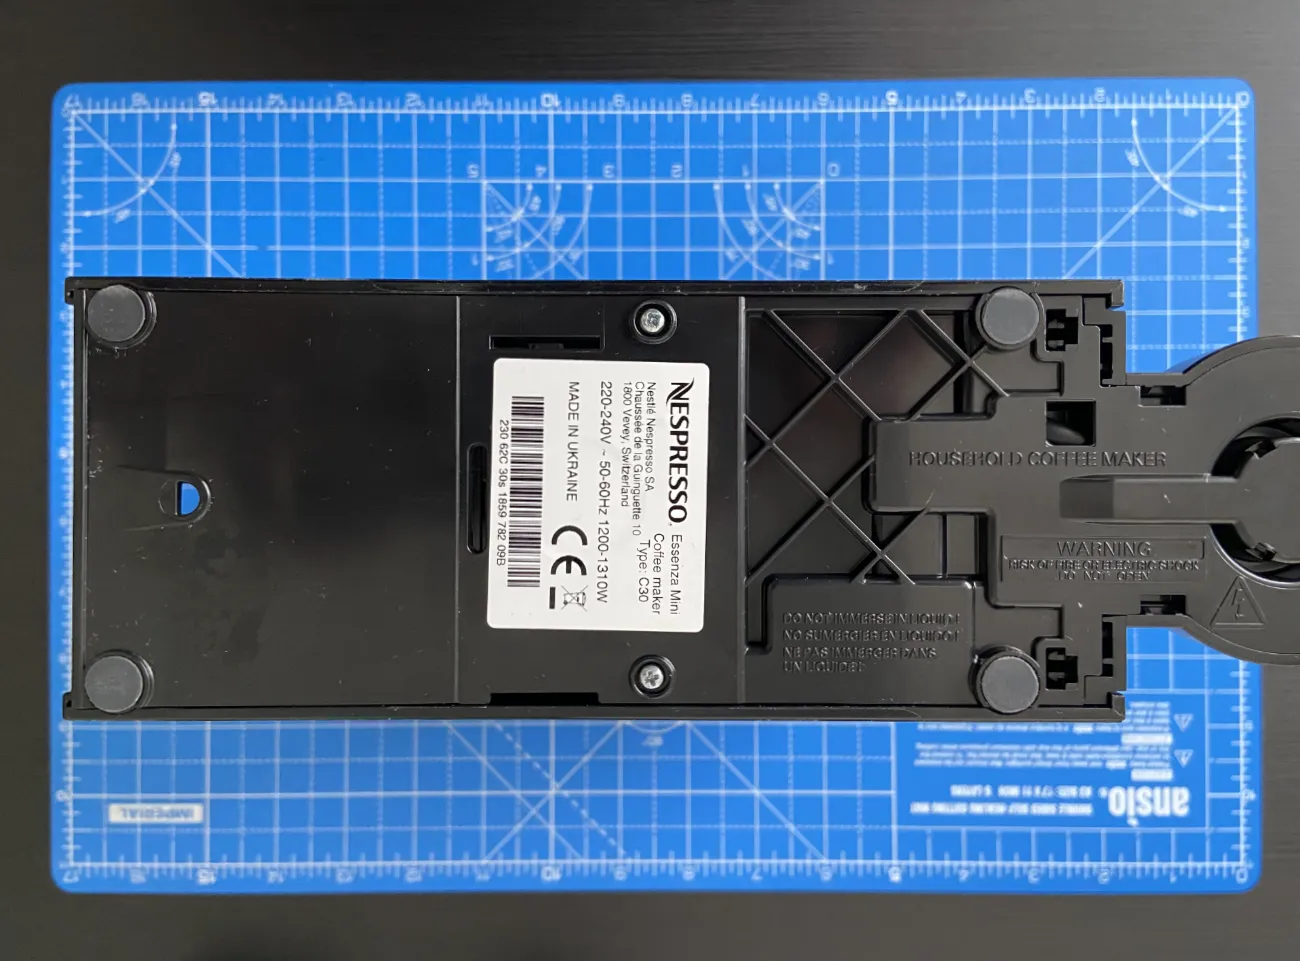
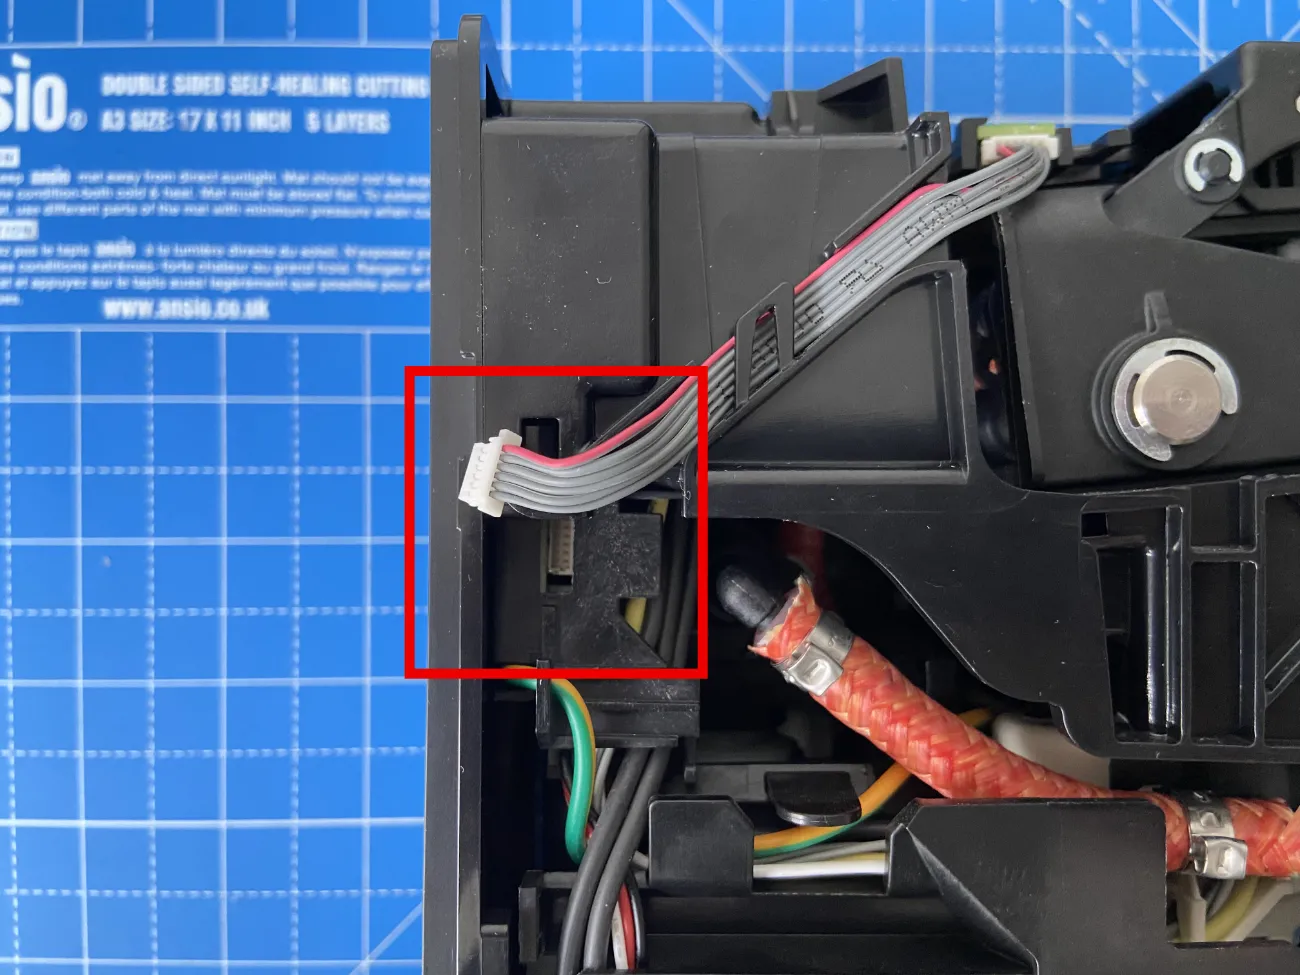
- Position the machine with the power cable to your left.
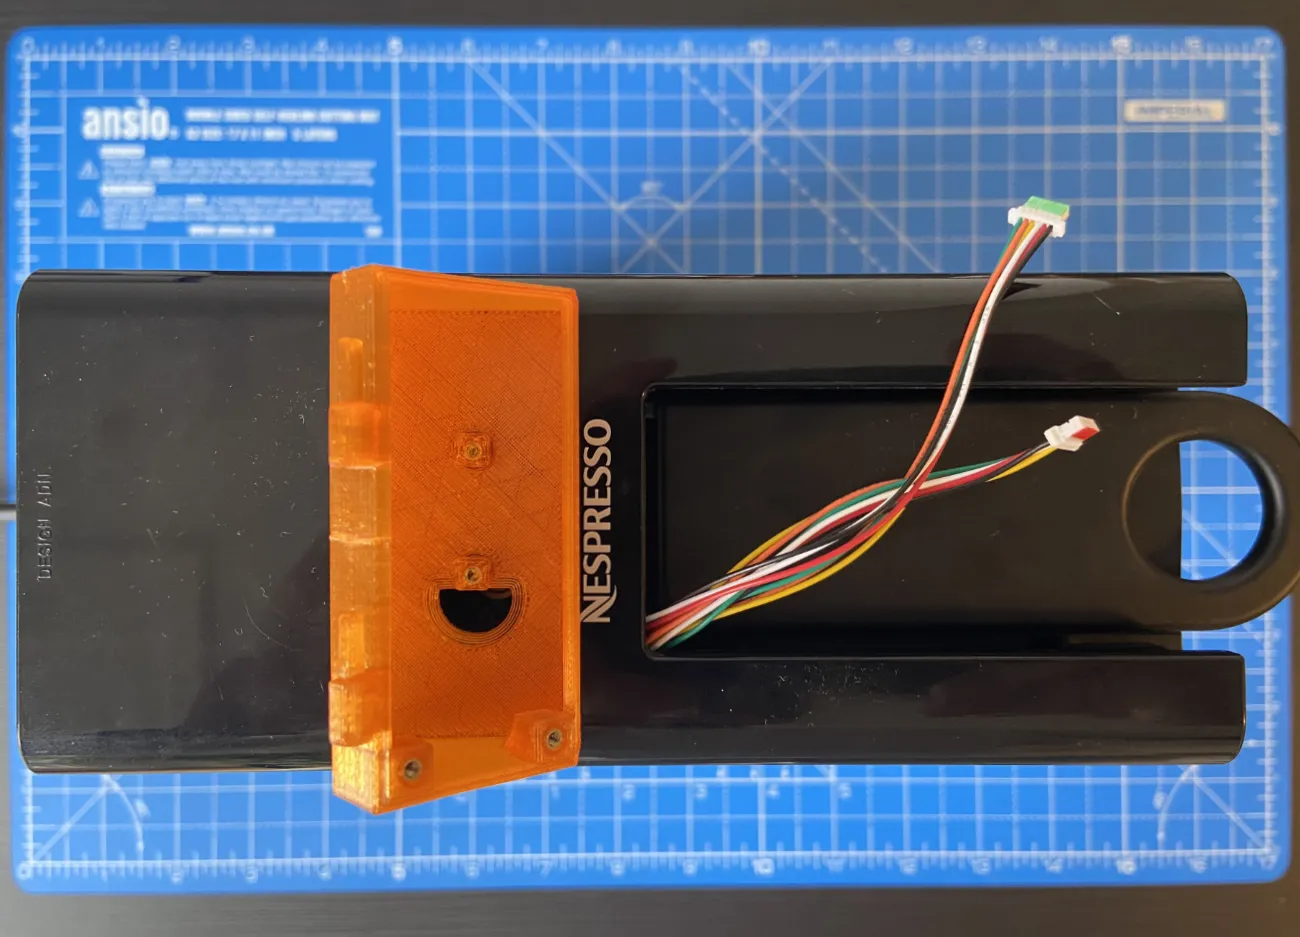
- You’ll see a cable running from the machine’s side to a small board on top.

- Gently pull on both ends of the cable to disconnect the connectors.

2. Connecting the Kit Cables
- Identify the long cable and the short cable included in the kit.
⚠️ Important: one end of each cable is painted black. This black end connects to the coffee machine, not to the ESP32.
[foto de los cables y que salga la parte negra y los otros códigos de color]
- Long Cable Connection:
- Connect one end of the long cable to the side of the machine (not to the buttons).
- Ensure the black end is facing down. If you connect it the wrong way, it could permanently damage the machine and the ESP32.


- Short Cable Connection:
- Connect one end of the short cable to the button PCB. The black end should face right.


3. Securing the Casing and Components
- Attach the bottom cover of the machine using the two small screws, the fastener, and the bottom casing.
- Insert the screws into the fastener as shown in the picture.
- Position the fastener at the bottom of the machine casing.


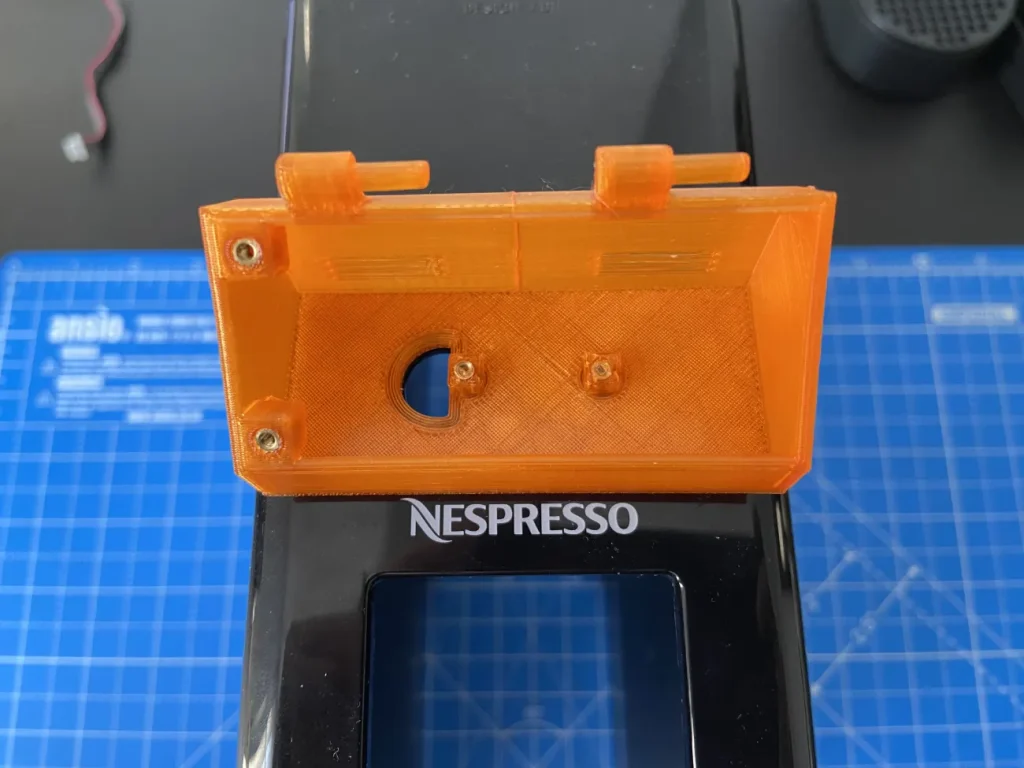
- Attach the ESP32 base using the screws to secure it in place.

- Carefully slide the coffee machine’s casing downwards, ensuring that the cables stay at the top.
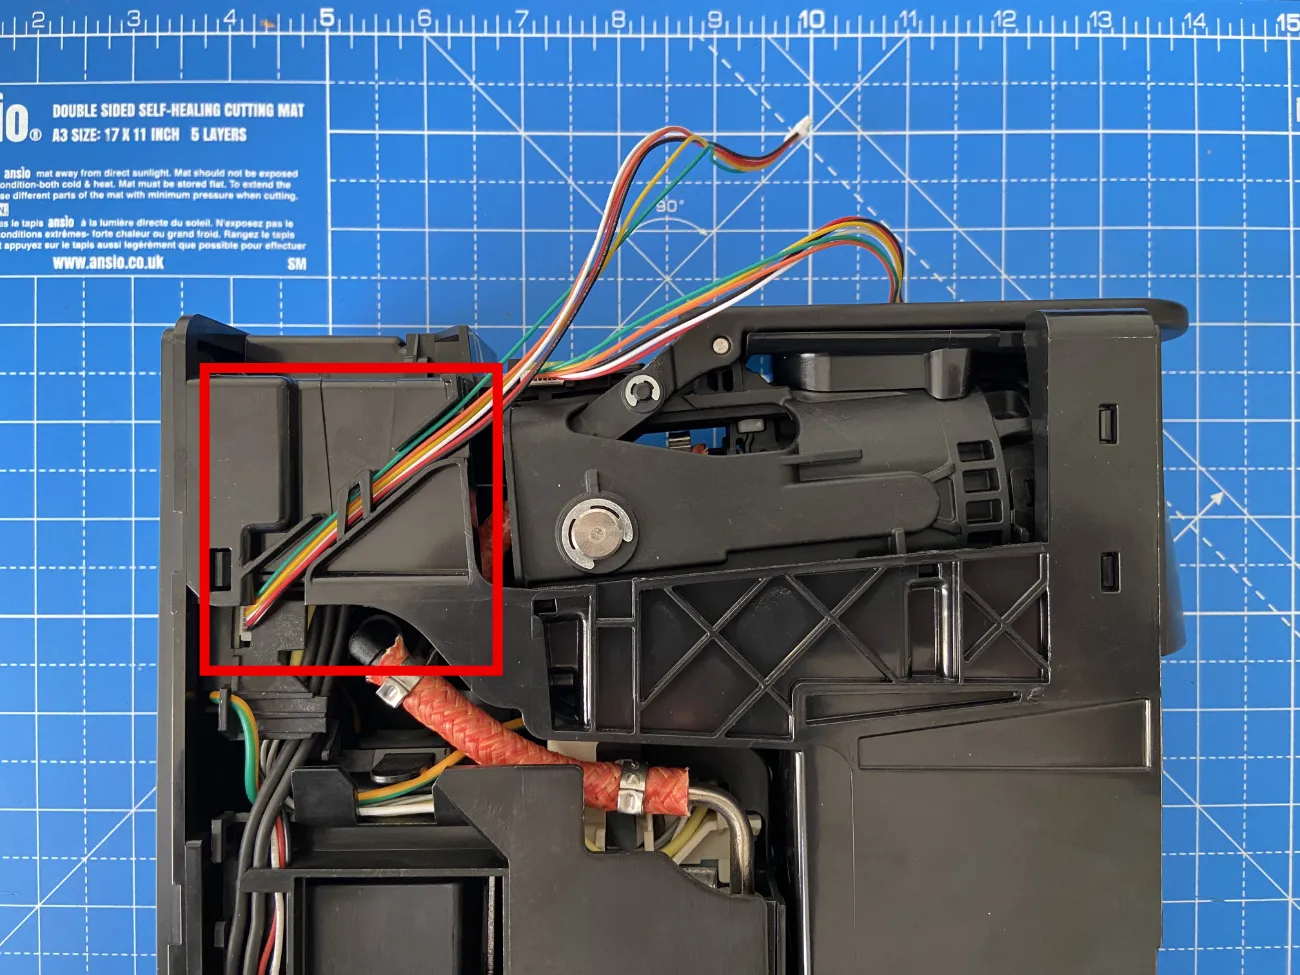

- As you slide the casing down, gently pull the cables through the top opening of the ESP32 to avoid them getting caught inside.
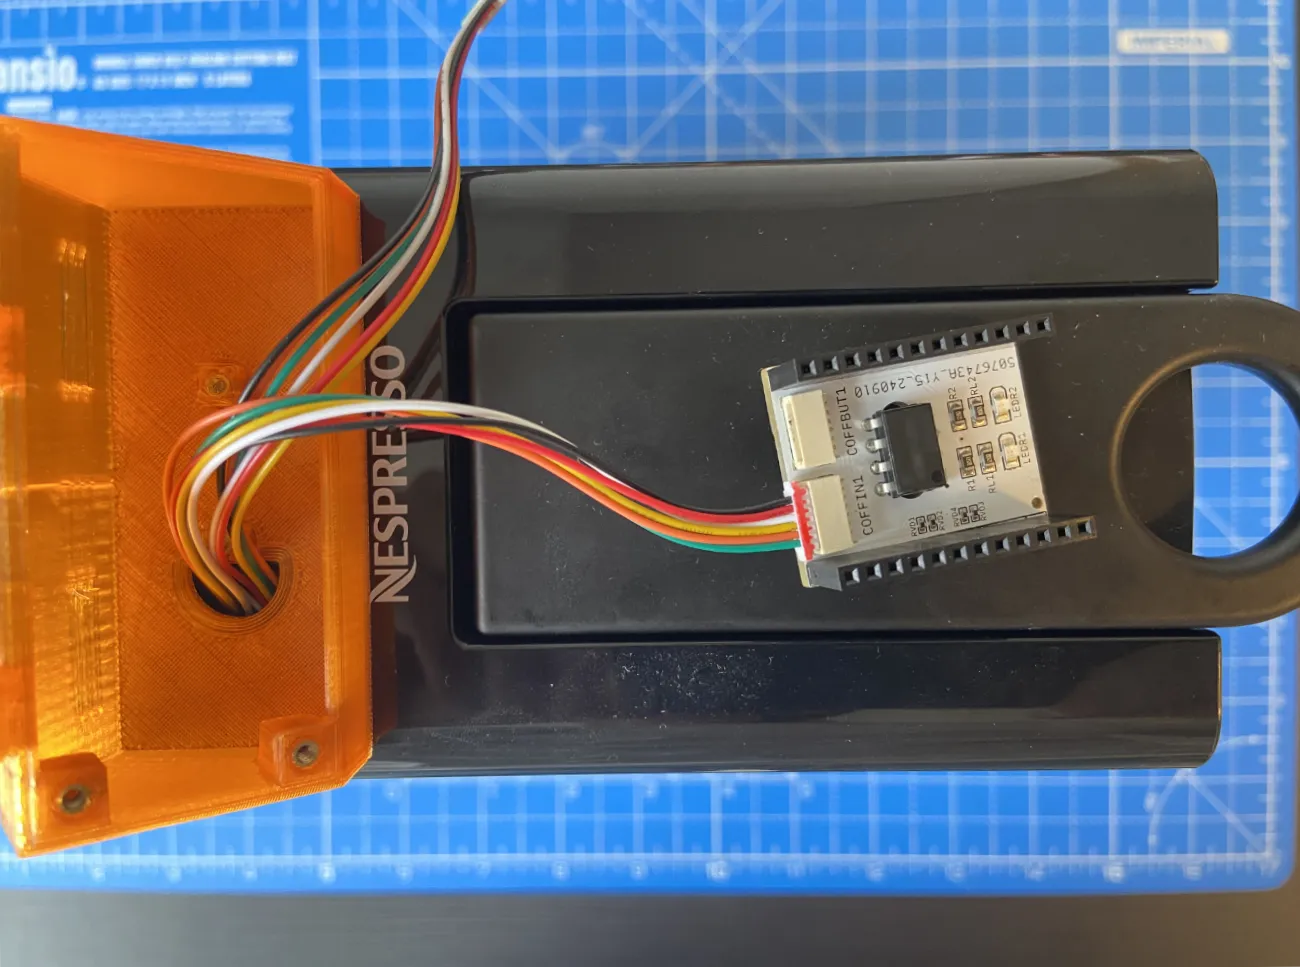
- While lowering the casing, make sure to identify which cable is the short one and which is the long one, as they will be connected to different parts of the “parasite” PCB.
[foto separando e identificando los cables]
- It is important that you do not fully close the casing yet, as you’ll need access to connect the cables to the correct ports on the PCB.
4. Finalizing the Cable Connections
Now, we’ll connect the remaining ends of the cables to the “parasite” PCB.
[foto PCB parasite de arriba]
- Long Cable:
- Pass the long cable through the casing hole and connect it to the COFFIN1 connector on the “parasite” PCB. The black end should face inward. This cable is marked with red.
- Short Cable:
- Pass the short cable through the casing hole and connect it to the COFFBUT1 connector on the “parasite” PCB, also with the black end facing inward. This cable is marked green.

⚠️ Important: double-check these connections. Incorrect wiring could permanently damage the device.
5. Connecting the “Parasite” PCB to the ESP32
- Connect the top cover to the bottom cover by sliding the hinge.

- On the back of the “parasite” PCB, you’ll see a label reading “This side faces USBC-Buttons.”
[foto PCB parasite de abajo]
- Carefully connect the “parasite” PCB to the ESP32 according to this direction.
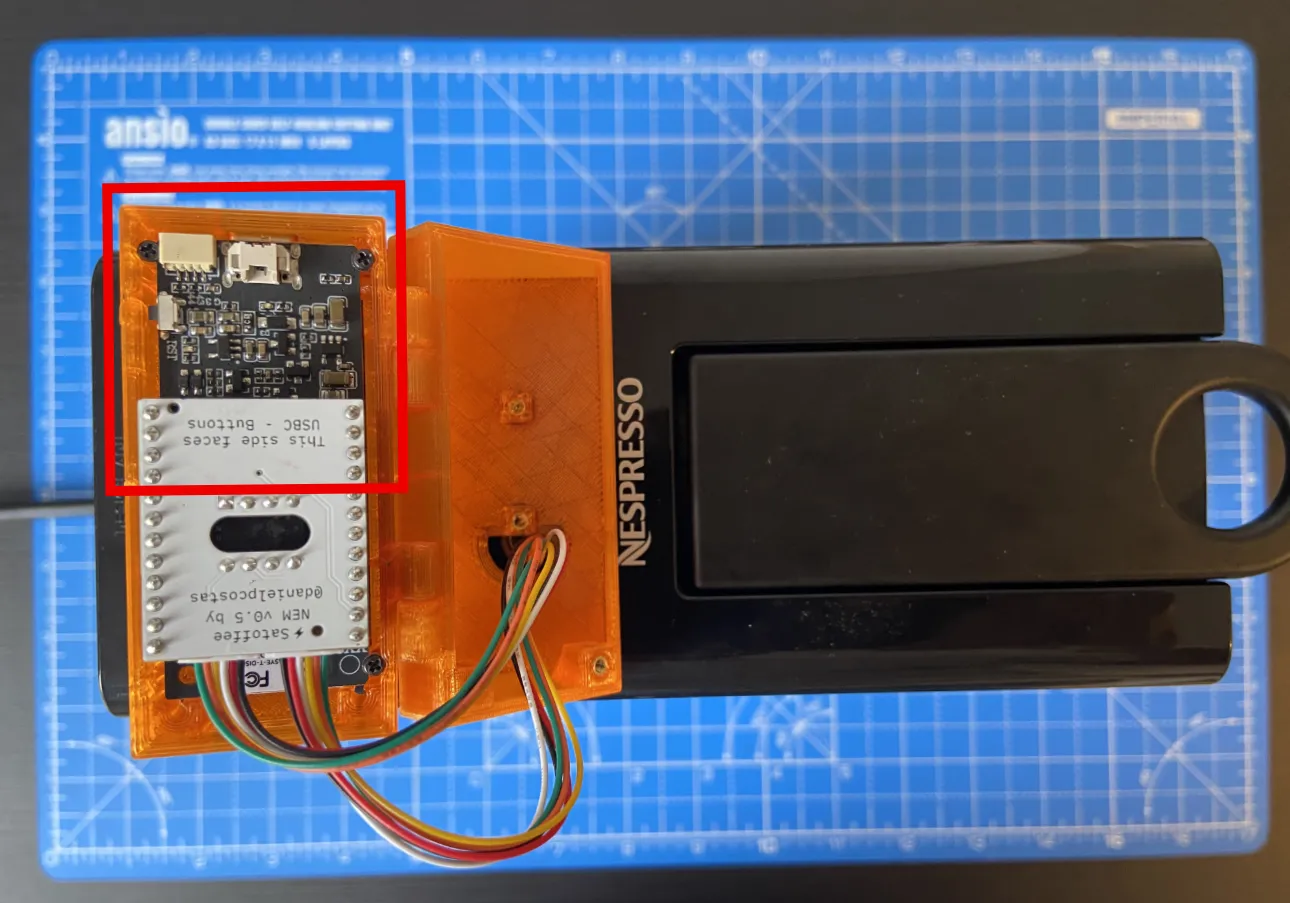
⚠️ Important: if connected the wrong way, it could damage the devices. Follow the picture for reference.
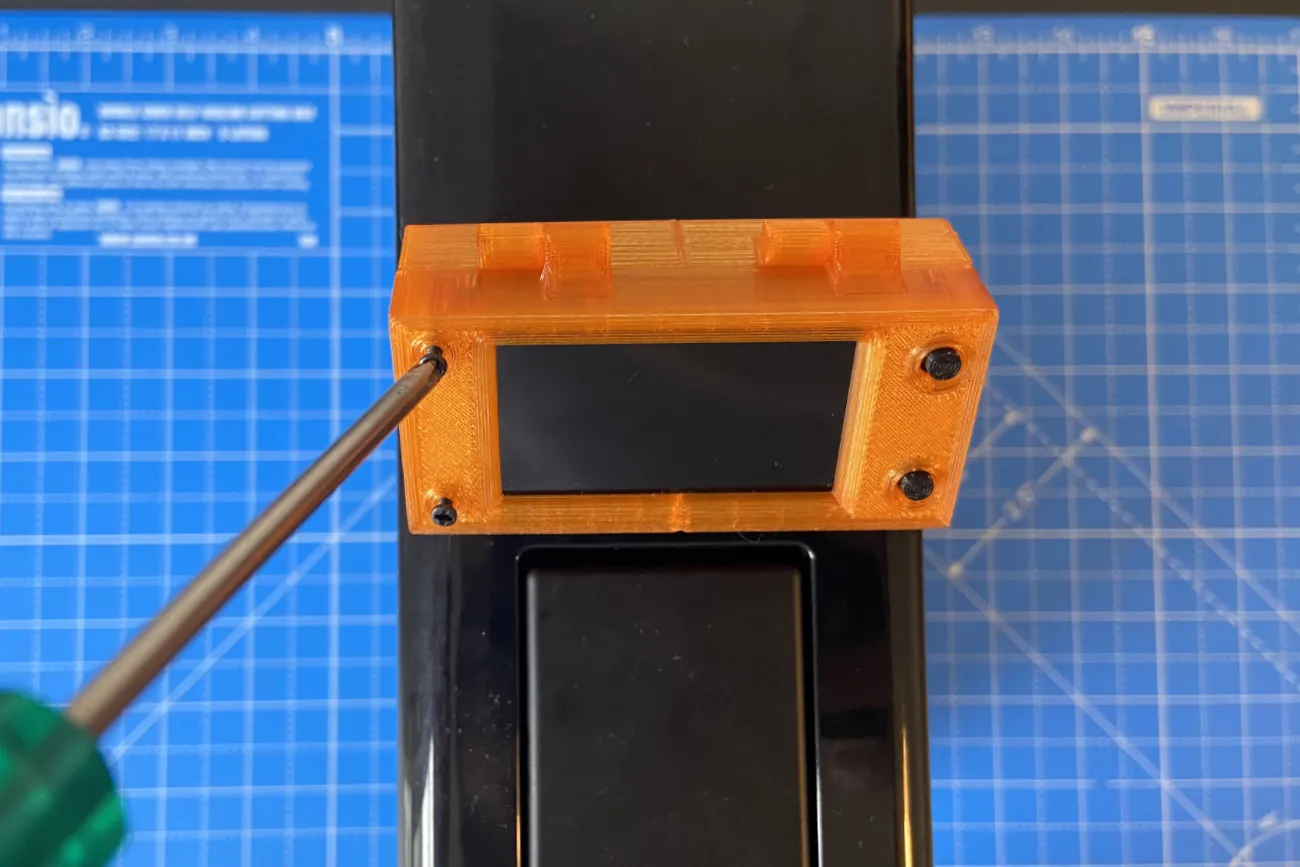
- The last step is to close the lid and make sure not to press any wires.

- Tighten the two remaining screws.
6. Final steps
- Close the coffee machine with the two remaining screws.

7. Initial Setup
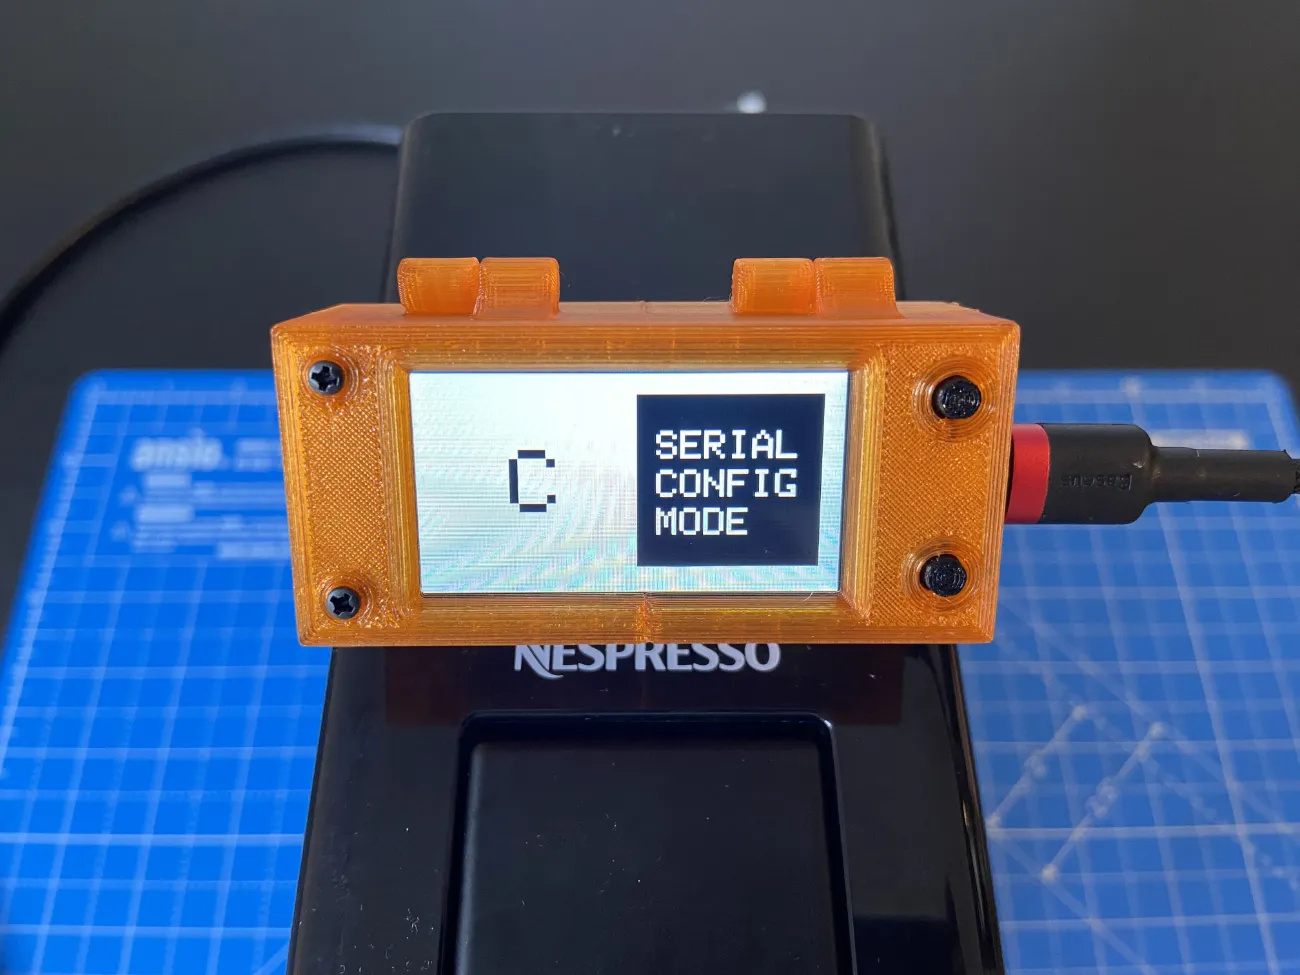
- Power up the ESP32 for the first time by connecting a power bank to the USB-C port.
- The screen will light up and display “config mode.”
- Open Google Chrome (not other browser) and go to the URL provided with your purchase.
- Follow the video instructions to configure your machine using LNbits. You can use your own LNbits server or the demo server at demo.lnbits.com.
- After retrieving the LNbits values, load them into the ESP32.
8. First Use
- After loading the parameters, press the “reset” button on the bottom of the top cover to restart the ESP32.
- If successful, a QR code will appear on the screen for a few seconds before the screen goes dark, indicating “sleep” mode.

⚠️ Warning: Reconnect the machine to power and ensure the casing is fully closed to avoid electrical shock.
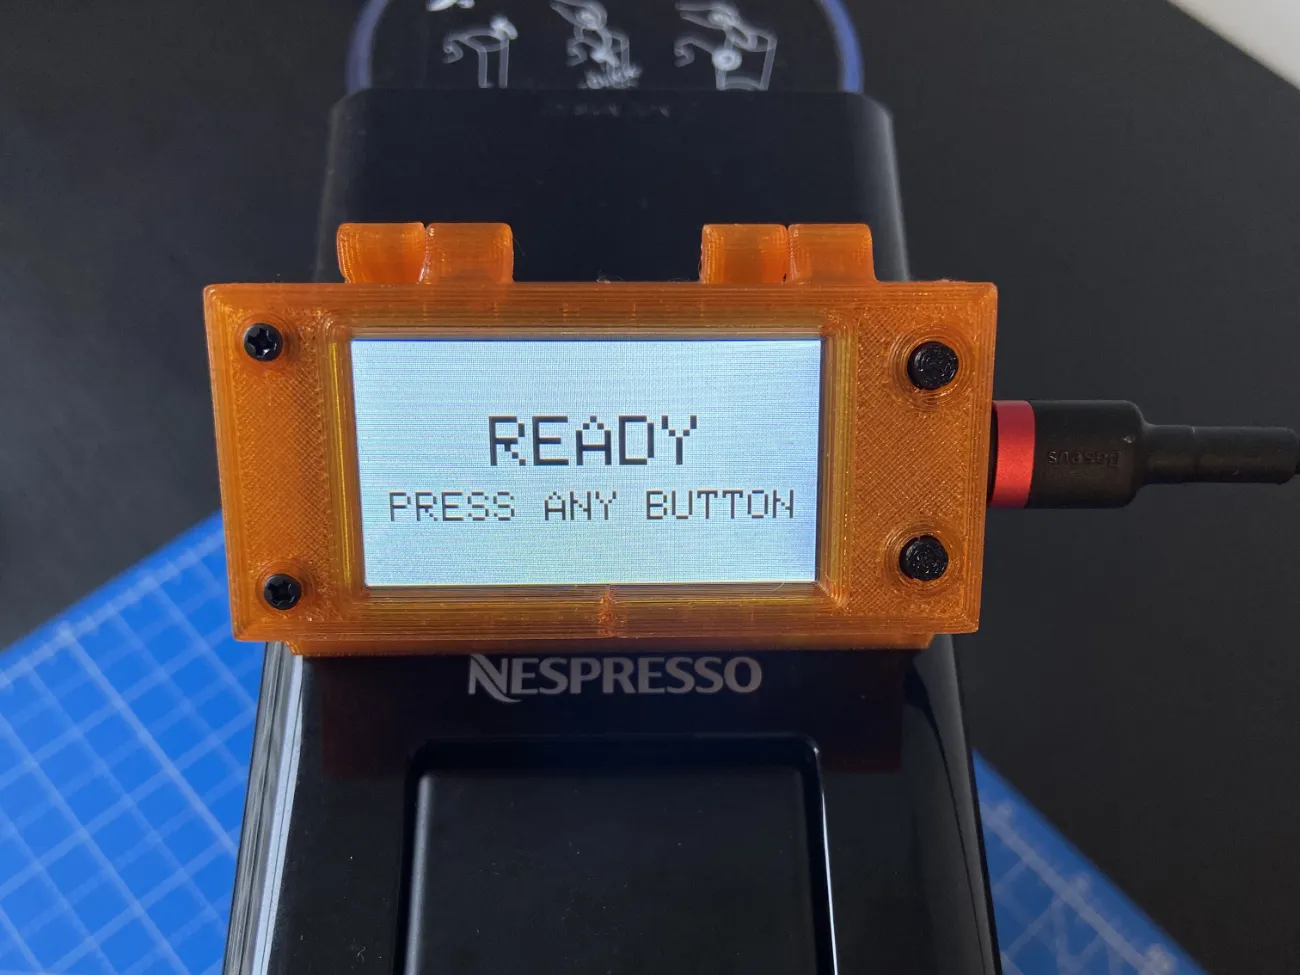
- If the screen is still off, press any button on the ESP32 to exit “sleep” mode.
- A QR code should appear again. Test the payment by scanning the QR code.
- If the payment is successful, follow the link in your wallet to receive the unlock pin code.


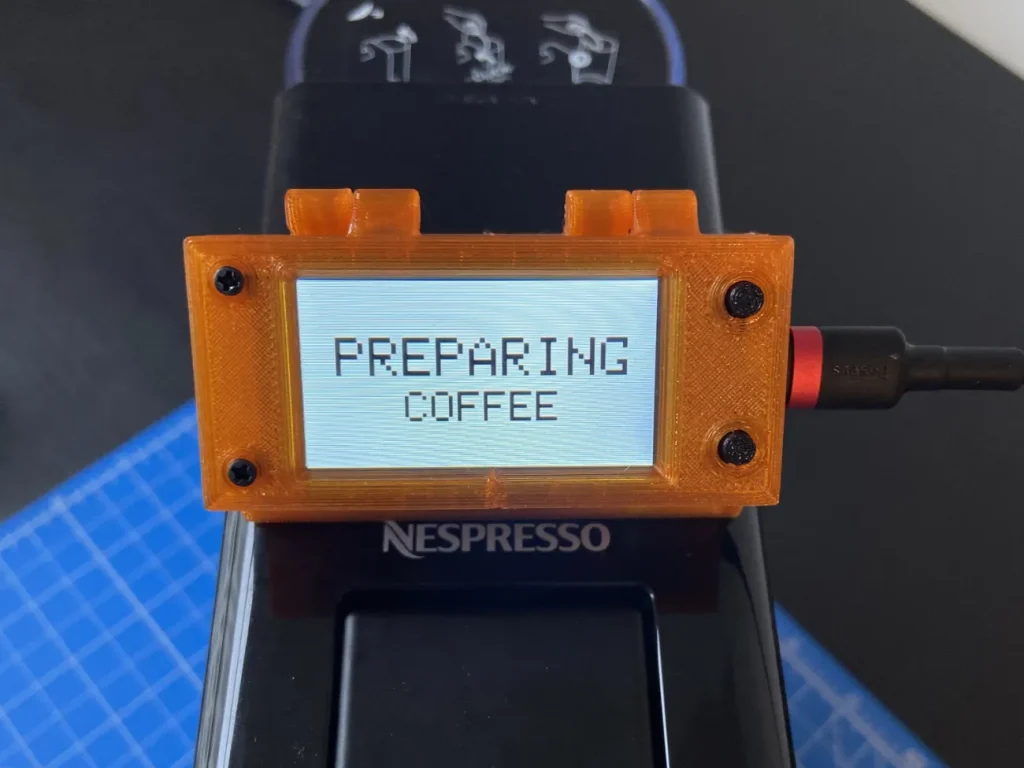
- Press “unlock” on the ESP32, enter the pin code, and submit it.


- If the pin code is correct, the machine will unlock, and you can start the coffee pouring.
9. Troubleshooting and Enjoyment
- The ESP32 will detect if the coffee is served. If no coffee is brewed, it will enter an error state, allowing you to retry.
- Once everything is set, you can enjoy your new Bitcoin-converted coffee machine!
Choose between an online or offline machine
This guide will walk you through the process of setting up your Satoffee Bosch Tassimo. You’ll need an LNbits account to get started.
You can choose between the online (with internet) and offline (without internet) versions of the software.
- Online version: faster, fully-automatic and doesn’t require manual input.
- Offline version: useful in remote locations without internet access, but requires entering a code manually and is slightly slower.
LNbits configuration
Satoffee⚡️ connects to LNbits using the LNURLDevice extension.
You have two options for connecting to LNbits: use your own LNbits installation (make sure it’s accessible on the clearnet and has active Lightning channels), or the demo server at demo.lnbits.com.
Note: if Tor is used in your infrastructure setup, it may slow down the payment process.
Online version:
- Sign in and create a wallet: if you haven’t done so already, sign in to LNbits and create a wallet.
- Install and enable the LNURLDevice extension: navigate to the LNbits extensions and enable LNURLDevice.
- Create a new device with the following details (change as you want):
- Title: satoffee-online
- Wallet: your-wallet-id
- Fiat Currency: EUR/USD/Your currency
- Type: switch
- Amount: 2 (2 EUR)
Note: you need to also setup these values but they have no effect, they are just required by LNbits:
- Duration: 1000ms
- GPIO Pin: 44

Offline version:
- Sign in and create a wallet: if you haven’t done so already, sign in to LNbits and create a wallet.
- Install and enable the LNURLDevice extension: navigate to the LNbits extensions and enable LNURLDevice.
- Create a new device with the following details (change as you want):
- Title: satoffe-offline
- Wallet: your-wallet-id
- Fiat Currency: EUR/USD/Your currency
- Type: Pos
- Profit margin: 0
Install software & setup settings
Again, you can choose between the online (with internet) and offline (without internet) versions of the software.
To flash the software onto your coffee maker, disconnect the power cord of the coffee machine and connect a USB-C cable to your computer, then use the Chrome browser and follow the instructions at install.satoffee.com.
Then access install.satoffee.com again to configure the options for your coffee maker.
Enjoy your coffee
Once everything is set up, you’re ready to enjoy a fresh cup of coffee from your Satoffee Bosch Tassimo!